IoT - Reverse engineering an infrared RGB bulb to use with the Google Assistant
Color changing light bulbs look really attractive, especially when you can control these via an API or the Google Assistant, but their cost always makes me reconsider buying some.
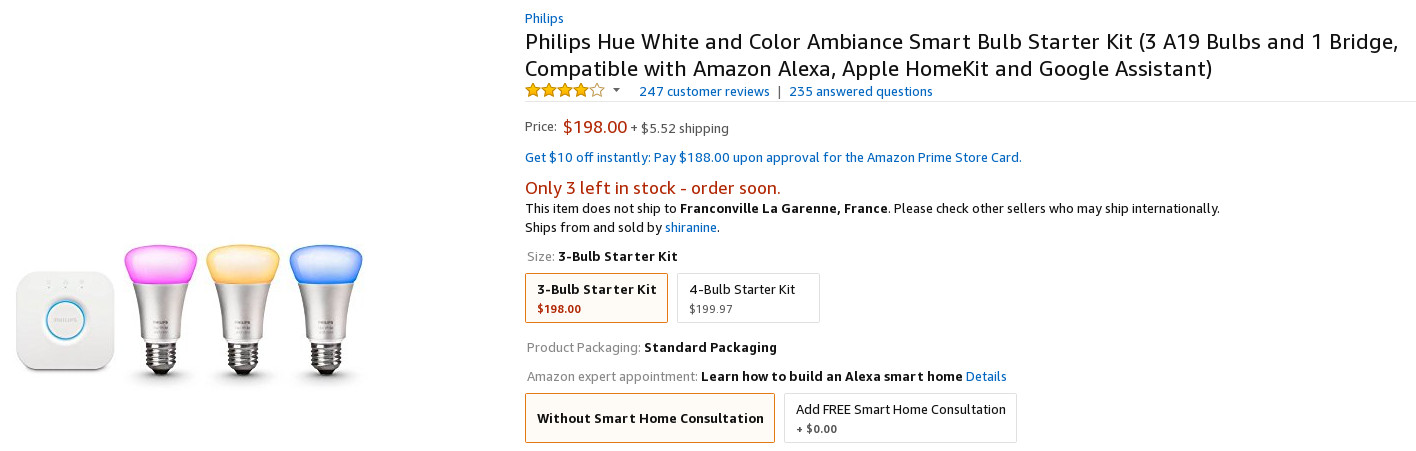
Philips Hue lights are undoubtedly great, but $200 for a starter kit is a lot when you are not sure whether you will really use it daily, once the first 20 minutes of fun controlling those lights have passed.
A reasonable budget for me to get started with RGB lights would be about $10-15.
If I enjoy the experience, I will probably want to buy better ones. But if I realize that I actually don’t need those lights, I would at least have tried without losing much money.
With this budget in mind, let’s build our own color changing light kit, compatible with the Google Assistant.
Buying the components
Since I already have a Raspberry Pi 3. I will only need to buy the following components:
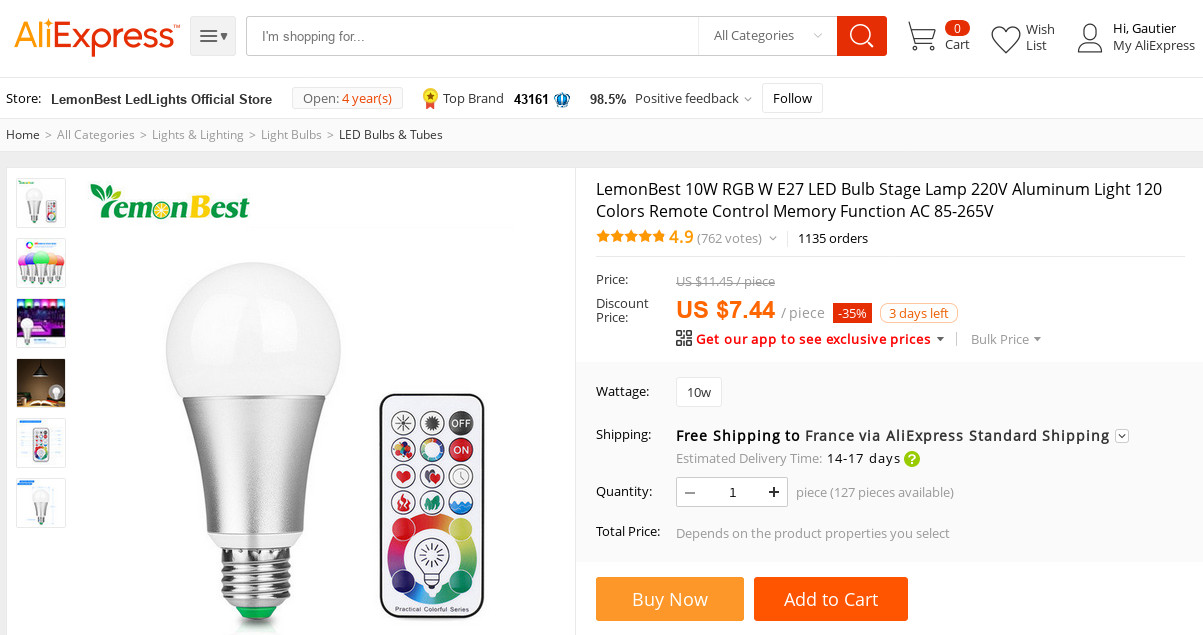
- An infrared RGB bulb (~$7.50)
- A VS1838B infrared receiver, to understand IR signals (~$0.10)
- An infrared LED with a 100Ω resistor, to send IR signals to the RGB bulb (~$0.15)
- An ESP8266 to provide an HTTP API over Wi-Fi and control the LED (~$3.50 for the NodeMCU Dev Kit)
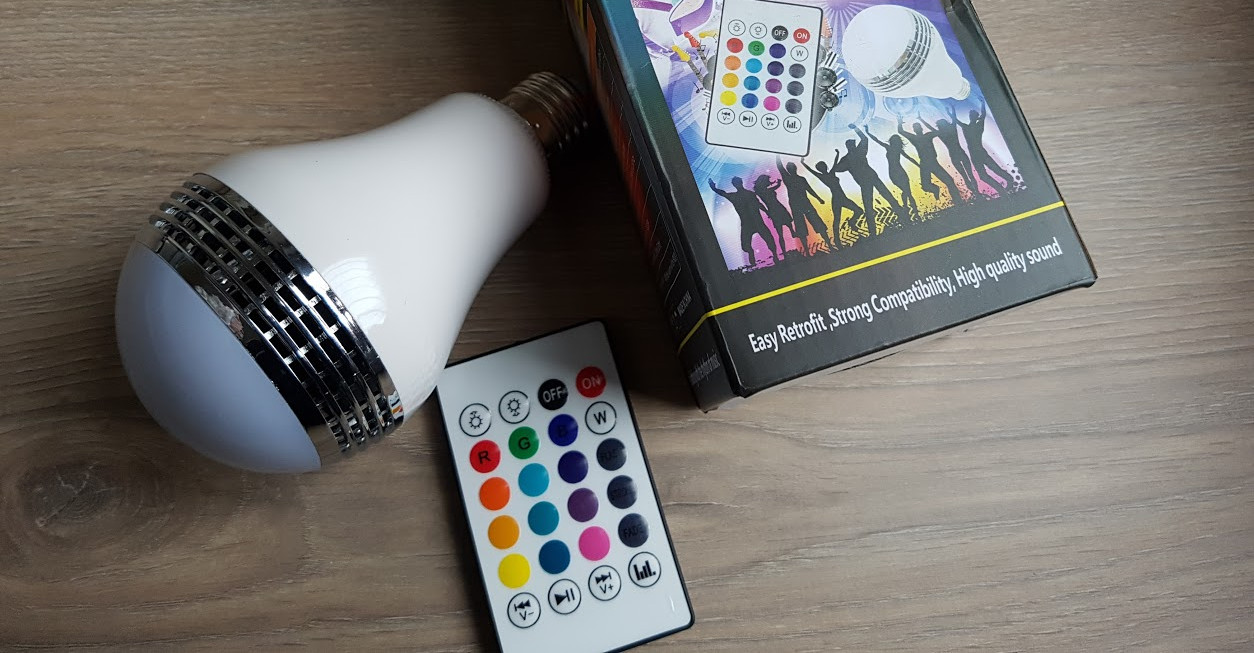
For the infrared RGB bulb, I decided to buy a “LemonBest 10W RGB E27”
Sniffing infrared signals
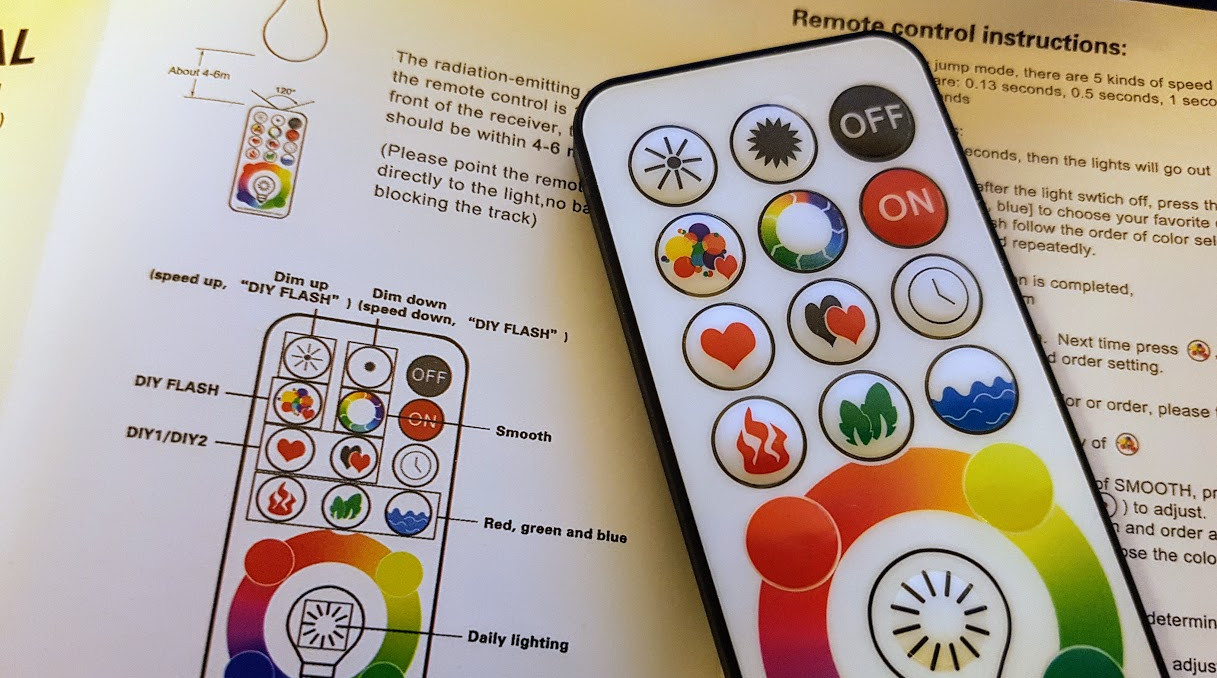
The RGB bulb comes with an infrared remote.
When reading the instructions, it looks like the color bulb is actually very limited:
The remote only lets you choose a color from 6 different possibilities:
Red, Green, Blue, White, DIY1, DIY2.
DIY1 and DIY2 are two colors you can choose from a total of 120 possibilities (I decided to set yellow for the first custom color, and pink for the second one).
The idea is to get rid of the remote, to control the lights programmatically instead, using a microcontroller and an IR LED.
For that, we will use a VS1838B and the IRrecvDump sample from the Arduino IRRemote library to intercept and copy IR signals sent from the remote. Then, we will be able to replicate those signals with a microcontroller and an IR LED.
This schematic shows how to connect the VS1838B infrared receiver to an Arduino:
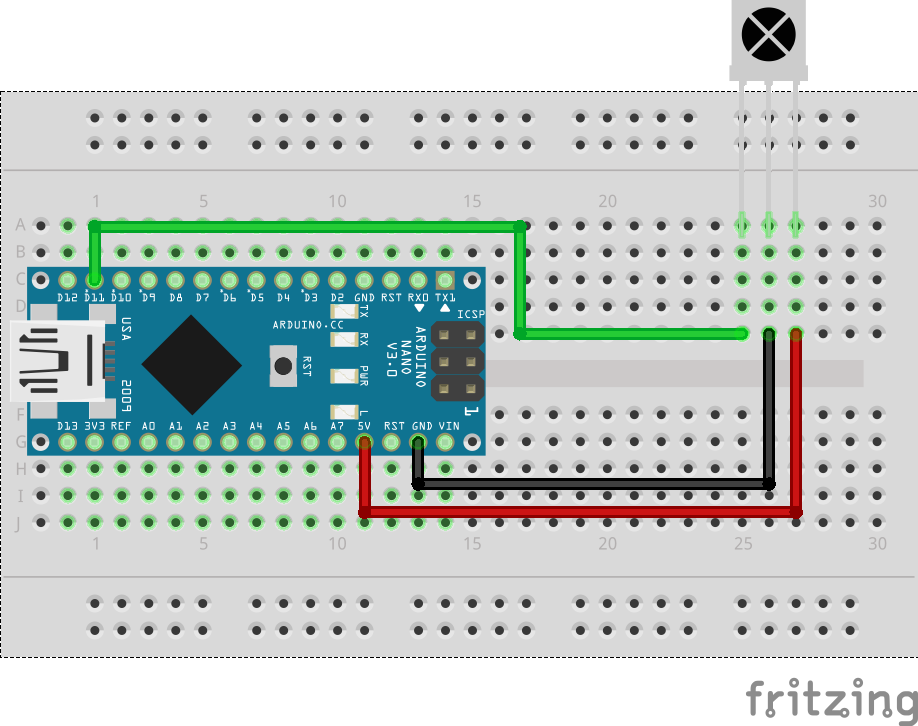
Now, when we press a button from the RGB bulb remote to the VS1838B, the Arduino will intercept the IR signals and write to the Serial console the detect IR code and encoding:
So when we press the remote button to set, for instance, the lights to RED, we can read the following data from the Arduino Serial:
Decoded NEC: FF6897 (32 bits)
The color bulb is using the NEC transmission protocol, and the code to change the color to red is 0xFF6897.
So if we want to set the color to RED programmatically, we first need to connect an IR LED to the Arduino, and use the IRRemote library with the following call:
irsend.sendNEC(0xFF6897, 32);Let’s connect an IR LED to the digital pin 3 of the Arduino, and try changing colors programmatically, from the Serial interface:
if (serialData == "RED") {
  irCode = 0xFF6897;
} else if (serialData == "GREEN") {
  irCode = 0xFF9867;
} else if (serialData == "BLUE") {
  irCode = 0xFFB04F;
} else if (serialData == "WHITE") {
  irCode = 0xFF38C7;
} else if (serialData == "DIY1") {
  irCode = 0xFFE01F;
} else if (serialData == "DIY2") {
  irCode = 0xFFA857;
} else if (serialData == "ON") {
  irCode = 0xFFC23D;
} else if (serialData == "OFF") {
  irCode = 0xFFE21D;
}

irsend.sendNEC(irCode, 32);
Complete Arduino sketch available here: IRSend demo
Dealing with unknown encoding types
We were lucky here, as the light bulb is using a known NEC transmission protocol, but you will often have to deal with infrared devices with custom protocols.
This is, for instance, the case for this LED music bulb:
A better, more generic, way to do is to sniff infrared signals using the IRrecvDumpV2 sample. This sample will print to the Serial interface all the information we need, such as the encoding standard and the infrared code and length:
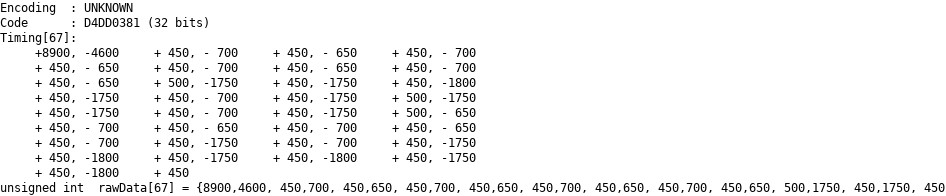
Then, we just need to copy the rawData array, and send it directly with the sendRaw method:
int khz = 38; // 38kHz carrier frequency
unsigned int rawData[] = {8900,4600, 450,700, ...};
irsend.sendRaw(rawData, sizeof(rawData) / sizeof(rawData[0]), khz);
Full sample to control this custom LED music bulb here: IRSend demo V2.
Programming the ESP8266
We are now able to control the RGB bulb using a microcontroller instead of the supplied remote.
Since infrared is only suitable for short-range communications, our microcontroller will also host an HTTP server available in a local Wi-Fi, to control the lights remotely from anywhere inside the house.
A cheap way to achieve that is to use an ESP8266 instead of the Arduino.
The ESP8266 is a low-cost Wi-Fi chip with full TCP/IP stack and MCU capability.
Another advantage is that you can use the Arduino environment to program it if you want, so the code we will write to send IR signals will be very similar to the one we wrote previously for the Arduino.
We will use the WifiServer Arduino library to create a server that listens for incoming connections:
const char* WIFI_SSID = "your-ssid";
const char* WIFI_PASSWORD = "your-password";

WiFiServer server(80);

void setup() {
  int status = WiFi.begin(WIFI_SSID, WIFI_PASSWORD);
  if (status == WL_CONNECTED) {
    server.begin();
  }
}
The server will host a single web service to change the color of the lights. Here is the Retrofit contract:
@GET("lights/{color}")
fun setBulbColor(@Path("color") color: Char): Call<Any>
where color is R for red, G for green, B for blue, etc.
The ESP8266 will parse the request to get the color parameter, and send IR signals to the RGB bulb:
void loop() {
  // Read the first line of the request
  WiFiClient client = server.available();
  String req = client.readStringUntil('\r');
  client.flush();

  // Get the IR code to sent depending on request uri
  unsigned long irCode = getIrCodeForRequest(req);

  // Send the IR code
  sendIRcode(irCode);

  // Send the HTTP response
  client.flush();
  client.print("HTTP/1.1 200 OK\r\nContent-Type: application/json\r\n\r\n{\"success\": true}");
}
We can now test sending HTTP requests to the ESP8266:
Complete sketch for the ESP8266 is available here: ESP8266 Code
Integration with the Google Assistant
Our initial infrared RGB bulb can now be controlled using an HTTP API over a local Wi-Fi network.
We can now create an Actions on Google project that calls a Google Cloud Function when a user wants to change the color of the lights.
When triggered, the Cloud function will use Firebase to notify an Android Things device.
The latter will send an HTTP request to the ESP8266 to change the color.
More info on this part in the following blog post:
Home automation with Android Things and the Google Assistant
And finally, everything works as expected!
Now that the Google Assistant is available in multiple languages, this was also the occasion to try it in different languages, such as French or Japanese.
Since the whole conversational interface is handled by Google, we have nothing to do to make it compatible with other locales. It works automatically once changing the Google Assistant language:
Does it worth it?
This experience was fun to get started, but the infrared technology is too limited and the setup is quite complex and requires additional microcontrollers.
For those reasons, I would not recommend buying infrared bulbs for your home, but Bluetooth bulbs instead.
Bluetooth bulbs are $3 more expensive, but you can control those directly from your Android Things board, which means that the total investment will stay the same (around $10), as you won’t need to buy an extra ESP8266 and infrared receivers/transmitters.
They also have a much wider choice of colors available.
We will see that in the following article, reverse engineering simple Bluetooth LE devices.